Welcome to your ultimate guide on mastering a pedicure at home! Whether you're new to the world of DIY beauty or looking to elevate your self-care routine, you've come to the right place. In this comprehensive guide, we'll walk you through every step of the pedicure process, from gathering your pedicure kit essentials to putting the finishing touches on your perfectly polished toes.
Forget about expensive salon appointments and long waits in crowded waiting rooms. With our step-by-step guide, you'll learn how to achieve salon-quality results from the comfort of your own home. No need to worry if you're a complete beginner – we've got you covered with easy-to-follow instructions and insider tips.
So, grab your pedicure tools and get ready to indulge in some much-needed self-care. It's time to pamper yourself with a luxurious at-home pedicure that will leave your feet feeling soft, smooth, and utterly rejuvenated. Let's dive in!
Get ready for salon-quality pedicures at home with these key steps!

Using a pedicure kit at home can bring numerous benefits to your foot care routine. Here are some of the advantages of doing a pedicure yourself:
By incorporating a pedicure kit into your self-care routine, you can enjoy these benefits and more. With practice and patience, you can achieve salon-quality results and maintain healthy, beautiful feet from the comfort of your own home.

Before you start your at-home pedicure journey, it's essential to gather all the necessary pedicure kit essentials. Here's a rundown of what you'll need:
Optional tools to consider include a foot scrub, foot spa, and silicone heel protectors for added comfort during your pedicure session. Once you have all your tools gathered, you're ready to embark on your journey to salon-worthy feet in the comfort of your own home.

Now that you've gathered your pedicure kit essentials, it's time to prepare your feet for the pampering ahead. Follow these simple steps:
By following these preparation steps, you'll ensure that your feet are in prime condition for a relaxing and effective at-home pedicure.

Now that you've prepped your feet, it's time to dive into the fun part – using your pedicure tools to achieve salon-worthy results at home. Here's how:
Remember to clean your pedicure tools after each use to prevent the spread of bacteria and keep them in good condition for future use. Simply wash them with soap and water and let them air dry thoroughly before storing them away.
By following these simple steps and using the right pedicure tools, you can achieve professional-looking results from the comfort of your own home.

You're almost there! After pampering your feet with a soothing soak, exfoliation, and grooming session, it's time to add the final touches to your at-home pedicure. Follow these steps to complete your luxurious experience:
With these simple finishing touches, you can enjoy salon-quality results from the comfort of your own home. Treat yourself to a relaxing pedicure session whenever you need a little self-care boost.
Congratulations on achieving beautiful, salon-worthy feet! Now that you've treated yourself to an indulgent pedicure, it's essential to maintain your results for long-lasting beauty. Here are some simple maintenance tips to keep your feet looking and feeling their best:
By following these maintenance tips, you can prolong the benefits of your pedicure and enjoy healthy, happy feet every day.

Embark on your journey to beautiful feet with this comprehensive step-by-step guide to an at-home pedicure. Follow these simple instructions for salon-quality results in the comfort of your own home.
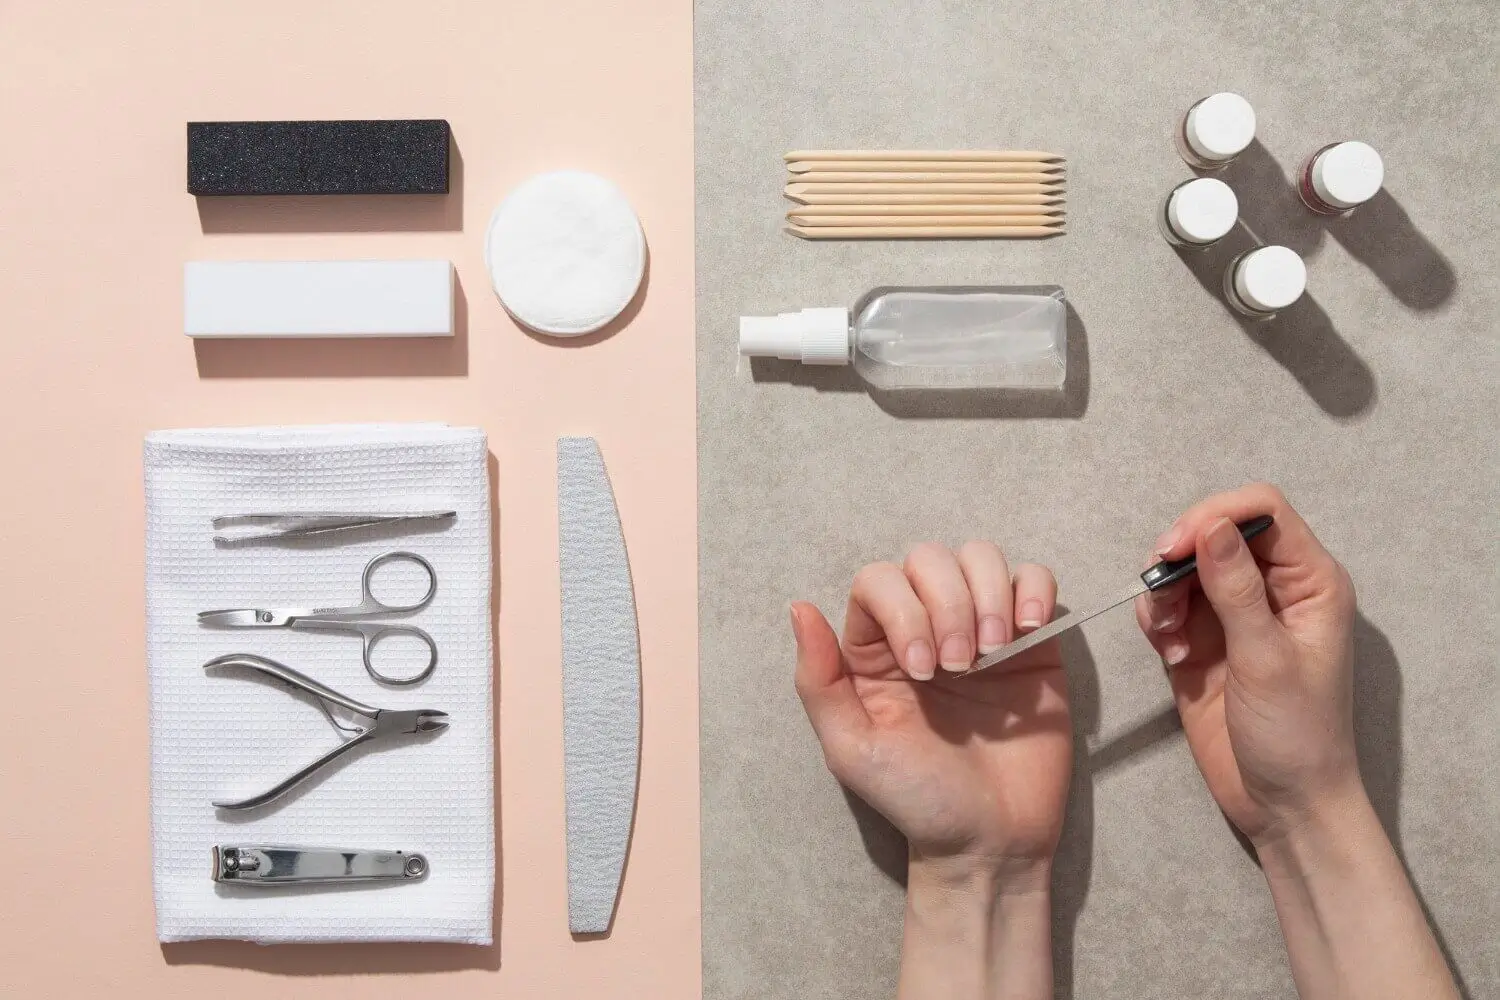
Before you begin, gather all the necessary tools for your pedicure. You'll need a nail clipper, nail file, cuticle pusher, foot scrub, pumice stone, moisturizing lotion, and your favorite nail polish colors.
Start by soaking your feet in warm, soapy water for 10-15 minutes. This helps soften the skin and makes it easier to remove dead skin cells.
Using a nail clipper, trim your toenails straight across to prevent ingrown nails. Then, use a nail file to smooth out any rough edges and shape your nails to your desired length and style.
Apply a foot scrub or exfoliating cream to your feet, focusing on rough areas like heels and soles. Gently massage in circular motions to remove dead skin cells and reveal softer, smoother skin.
Using a cuticle pusher, gently push back your cuticles to create a clean nail bed. Be careful not to cut or damage the cuticles, as they help protect your nails from infection.
After exfoliating, rinse your feet and pat them dry with a soft towel. Apply a generous amount of moisturizing lotion or foot cream to hydrate and nourish your skin, paying extra attention to dry areas.
Now it's time to add some color! Start by applying a base coat to protect your nails and help the polish adhere better. Then, carefully apply two coats of your favorite nail polish color, allowing each coat to dry completely before applying the next. Many nail salons offer a wide variety of colors, so if you're looking for inspiration, you can browse online galleries or visit a salon like Lavish Lux Nails & Spa: Best Nail Bar in Markham to see their color collections.
Once your nail polish is dry, apply a top coat to seal in the color and add shine. Clean up any stray polish with a small brush dipped in nail polish remover for a polished finish.
To keep your feet looking and feeling their best, moisturize daily, trim your nails regularly, and schedule regular pedicures to maintain healthy, beautiful feet.
Now sit back, relax, and enjoy your fabulous, salon-worthy pedicure right at home!
Taking care of your feet with regular pedicures isn't just about aesthetics—it's also essential for maintaining foot health and promoting relaxation. By following our step-by-step guide on how to use pedicure tools for beginners, you can achieve salon-quality results right in the comfort of your own home.
Remember, self-care is important, and giving yourself a luxurious pedicure is a great way to show yourself some love. So go ahead, gather your pedicure kit, and treat yourself to some well-deserved pampering.
Ready to get started? Grab your pedicure tools and embark on a journey to smoother, healthier feet today!
Absolutely! You can use any nail polish you like for your at-home pedicure. Just make sure to apply a base coat first to protect your nails and prevent staining, and finish with a top coat for added shine and longevity.
It depends on your individual needs and preferences. Some people like to do an at-home pedicure once a week for maintenance, while others may prefer to do it less frequently. Listen to your body and your feet—they'll tell you when it's time for some pampering!
While it's technically possible to skip the foot soak step, we highly recommend against it! Soaking your feet helps to soften the skin, making it easier to exfoliate and trim your nails. Plus, it's a relaxing way to unwind and pamper yourself.
Not necessarily! You can tailor your at-home pedicure experience to your own preferences and needs. If you don't have certain tools or don't feel comfortable using them, feel free to skip them or substitute with alternatives.
The time it takes to complete an at-home pedicure can vary depending on factors like your experience level and the specific steps you include. On average, you can expect it to take anywhere from 30 minutes to an hour.
Absolutely! Just be sure to choose gentle products and avoid any ingredients that may irritate your skin. You can also do a patch test before using new products to check for any adverse reactions.
Don't panic! If you accidentally smudge your nail polish, simply wait for it to dry completely, then use a clean brush dipped in nail polish remover to carefully clean up the smudge. Finish with a fresh layer of top coat to smooth out any imperfections.